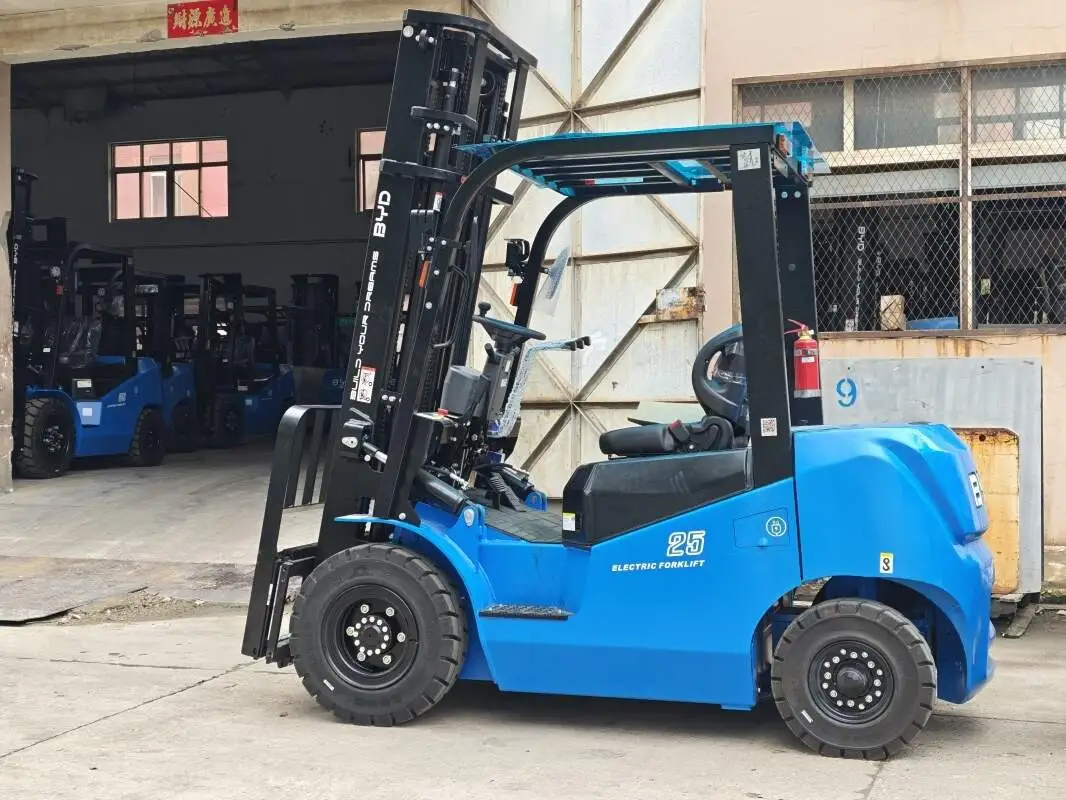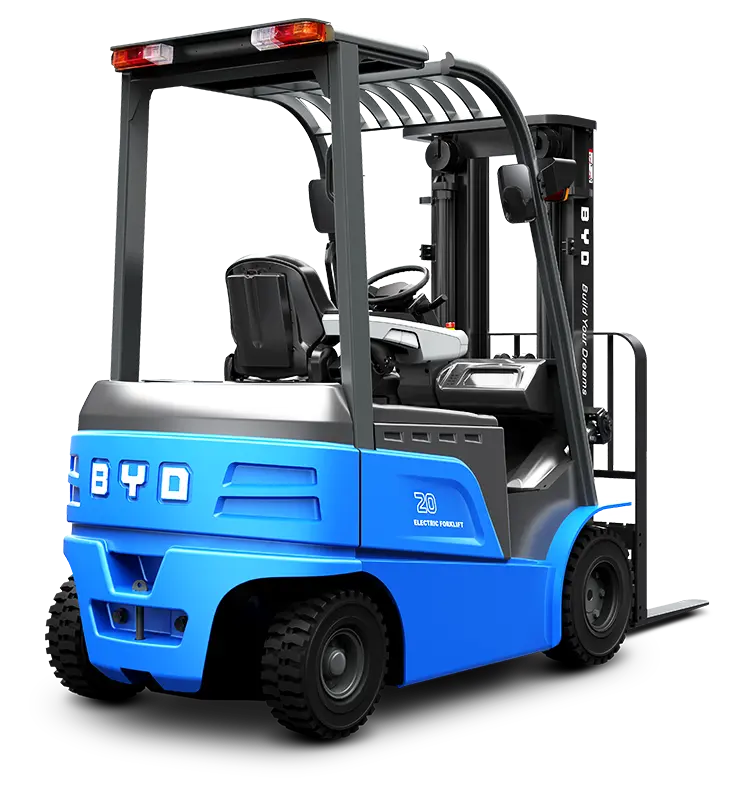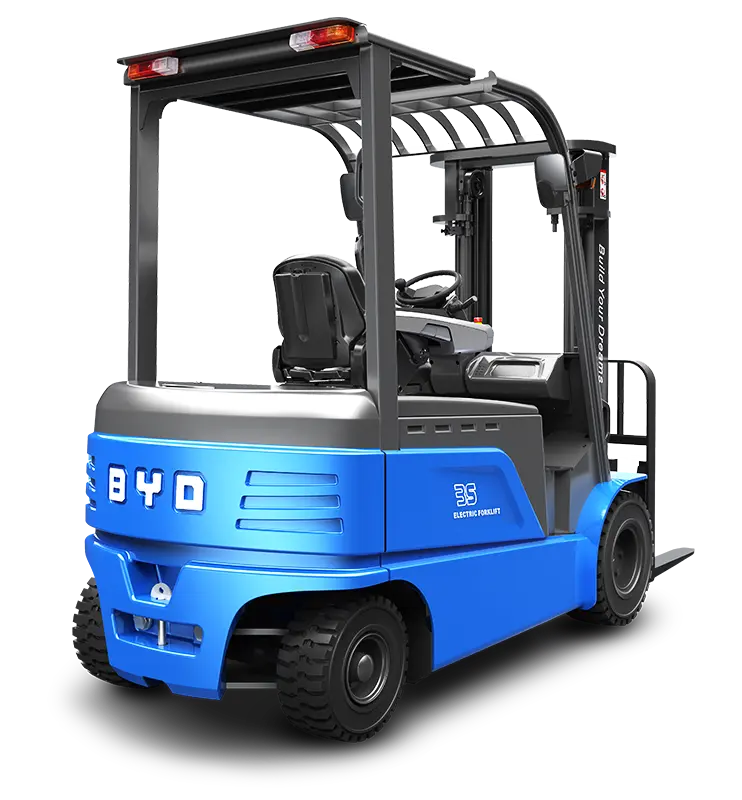
For forklift operators spending long hours behind the controls, a well-maintained seat cushion is more than a comfort feature—it’s a critical component of ergonomics that supports proper posture, reduces muscle fatigue, and minimizes the risk of work-related musculoskeletal issues. When a seat cushion shows signs of wear, such as flattening, tearing, or loss of supportive padding, timely replacement is essential to uphold operator well-being and operational efficiency. Below is a structured guide to replacing forklift seat cushion parts with ergonomics at the core.
First: Prepare for Safe and Efficient Replacement
Before starting any work, ensure the forklift is parked on a flat, stable surface, with the engine turned off and the parking brake fully engaged. Disconnect the battery if the seat includes integrated electrical controls to eliminate potential hazards. Gather necessary tools, such as a socket wrench set, screwdrivers, and a clean microfiber cloth, and have the replacement cushion readily accessible to minimize downtime. This preparation step sets a safe foundation for the entire process.
Second: Remove the Worn Seat Cushion
Inspect the seat base to identify how the cushion is secured—typically with screws or bolts located underneath the seat frame or along the cushion’s edges. Use the appropriate tool to loosen and remove these fasteners carefully, avoiding excessive force that could damage the seat structure. Once all fasteners are removed, gently lift the old cushion away from the base, checking for any attached wiring or small components that may need disconnection before full removal. Set the worn cushion aside for proper disposal.
Third: Clean and Prep the Seat Base
Before installing the new cushion, take time to clean the seat base thoroughly. Use a damp cloth to wipe away dust, dirt, and debris that may have accumulated over time, as these can create uneven pressure points and reduce the new cushion’s lifespan. Inspect the base for signs of rust or minor damage; address any small issues, such as sanding rust spots, to ensure a stable, smooth surface for the replacement cushion. A clean, intact base ensures the new cushion fits securely and functions as intended.
Fourth: Install the Ergonomic Replacement Cushion
Align the new seat cushion with the mounting holes on the seat base, ensuring it covers the entire support area evenly—this alignment is key to maintaining proper ergonomic positioning. Misalignment can cause uneven pressure on the operator’s back and legs, undermining the cushion’s supportive benefits. Once correctly positioned, reinsert the fasteners and tighten them securely, taking care not to over-tighten, which could crack the cushion material. If the replacement cushion includes adjustable ergonomic features, such as lumbar support, ensure they are properly connected and functional during installation.
Fifth: Test and Adjust for Optimal Comfort
After installation, reconnect the battery (if disconnected) and test the seat’s stability by sitting on it and shifting your weight to confirm it does not wobble or shift. Adjust any ergonomic settings, such as seat height, tilt, or lumbar support, to match your body’s needs. Proper adjustment ensures that your hips, back, and legs are supported in a neutral position, reducing strain during long shifts. Take a short test operation of the forklift to verify the cushion provides consistent comfort and support throughout movement.
Regular replacement of forklift seat cushions is a simple yet impactful way to prioritize operator ergonomics. By following these steps, you can ensure that your forklift seat remains a supportive, comfortable component that contributes to safer, more efficient workplace operations, while also supporting the long-term health of forklift operators.