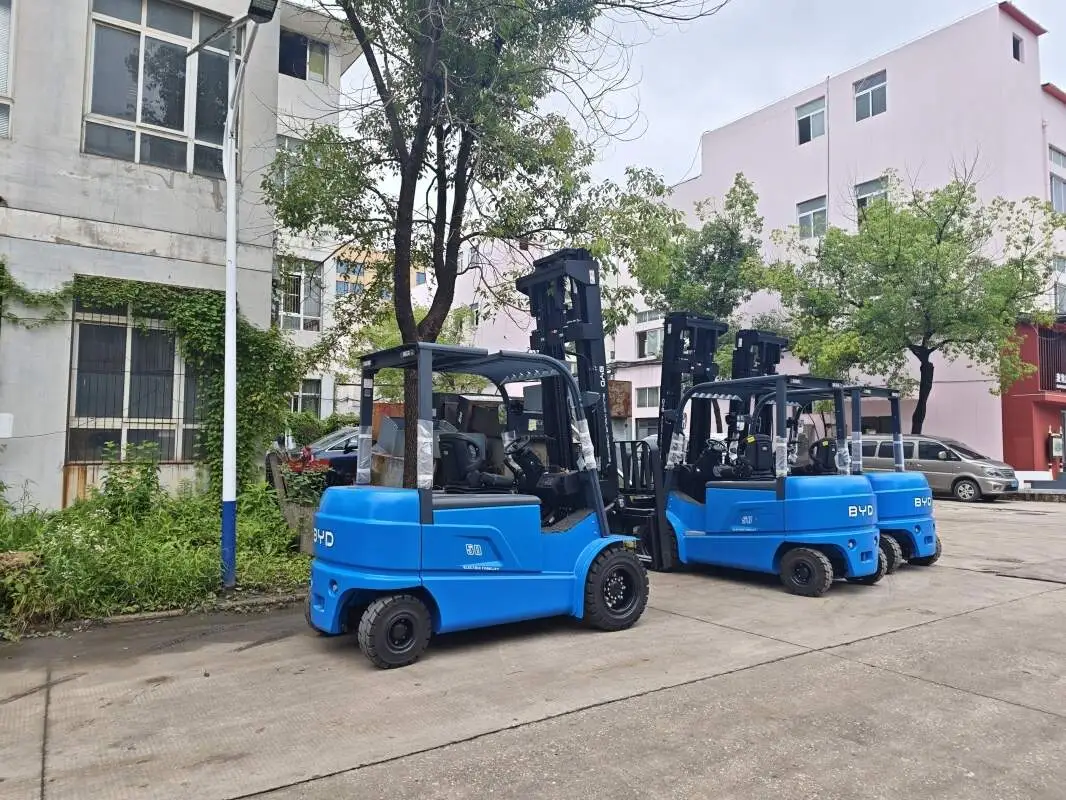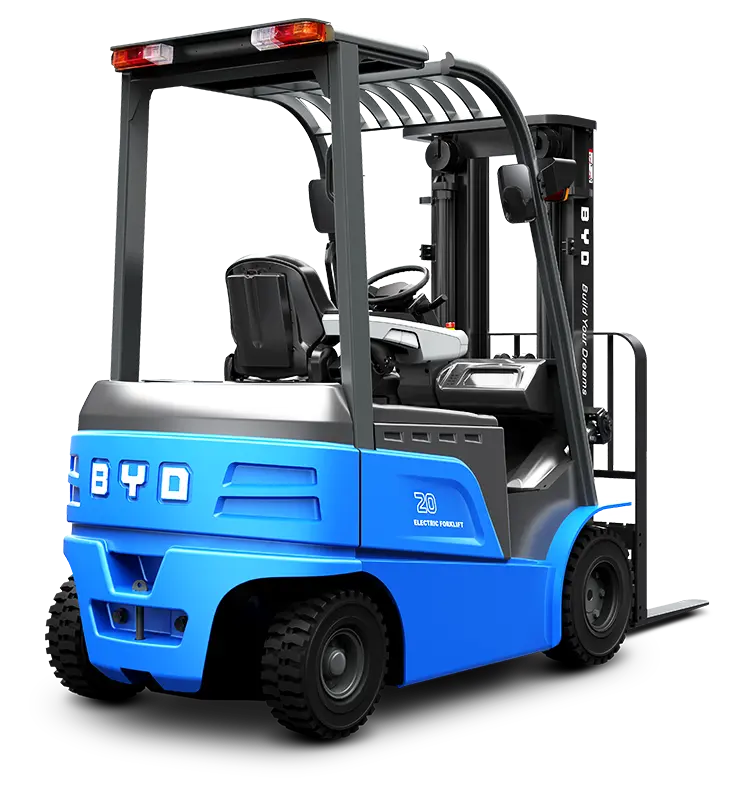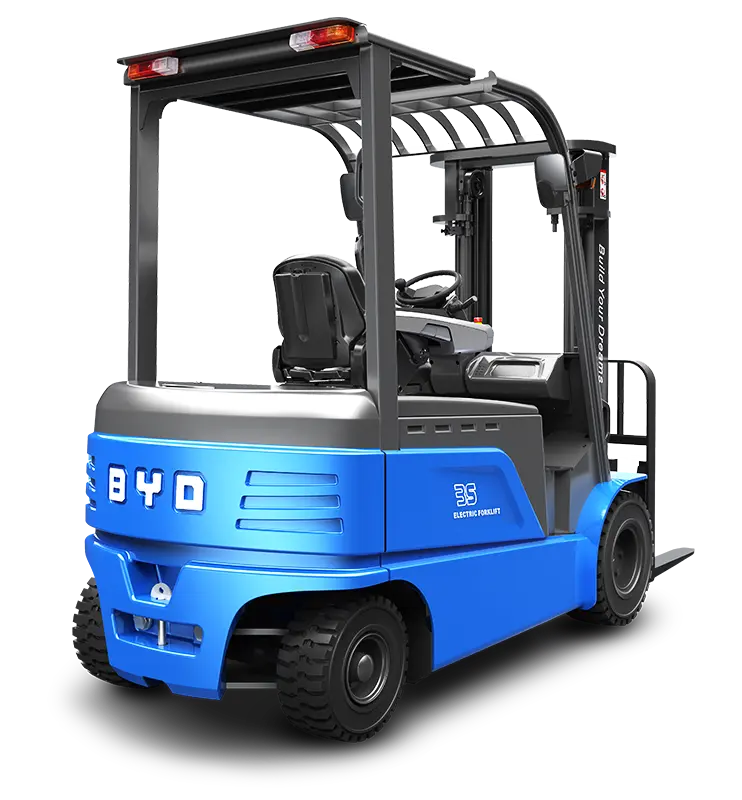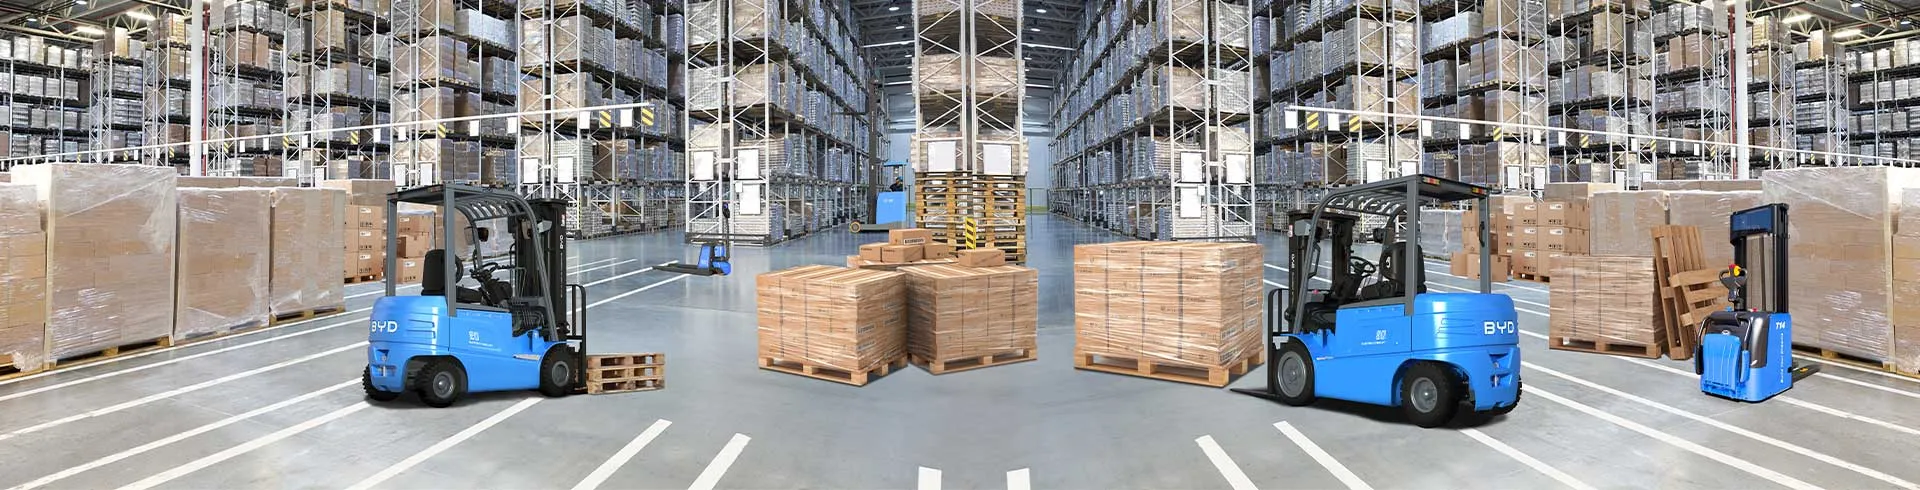
forklift LED lighting systems play a critical role in enhancing visibility for operators, especially in dimly lit warehouses, outdoor loading docks, and narrow aisles. Proper installation ensures these lights function optimally, reducing the risk of accidents and improving overall operational safety. This guide outlines a structured, safe process for installing LED lighting on electric forklifts, adhering to industry best practices.
Before beginning any installation work, prioritize safety to avoid electrical hazards or equipment damage. First, disconnect the electric forklift’s battery to eliminate the risk of electric shock. Wear insulated gloves and safety goggles to protect against debris or accidental contact with live wires next. Gather all necessary tools and materials: a set of screwdrivers (flathead and Phillips), adjustable wrenches, wire strippers, crimping terminals, electrical tape, a multimeter, and mounting brackets (if included with the LED lights). Ensure the work area is well-lit and free from obstacles to move around the forklift easily.
If replacing outdated lighting with LED systems, start by removing the old fixtures. Use the appropriate screwdriver to loosen the mounting screws securing the existing light to the forklift’s frame. Carefully disconnect the wiring harness, taking note of which wire corresponds to the positive (+) and negative (-) terminals—labeling each wire with tape can prevent confusion later. Once disconnected, remove the old light fixture and set it aside for proper disposal according to local regulations.
Choose the optimal mounting location for your LED lights, ensuring they do not interfere with the forklift’s operational components like forks, mast, or steering mechanism. Common positions include the front grille for headlights, the rear of the forklift for taillights, and overhead for warning beacons. Align the LED light fixture with the mounting surface, mark the screw holes if drilling is required, and use a drill to create pilot holes (if necessary). Secure the fixture tightly with the provided screws or brackets, ensuring it is stable and does not vibrate during operation.
Carefully route the LED light’s wiring from the fixture to the forklift’s battery compartment, avoiding areas where wires could be pinched by moving parts or exposed to sharp edges. Use wire loom or electrical tape to protect the wiring from abrasion. Strip approximately ¼ inch of insulation from the ends of both the LED light wires and the corresponding battery wires. Connect the positive LED wire to the positive battery terminal and the negative wire to the negative terminal, using crimping terminals for a secure connection. Wrap each connection with electrical tape to prevent short circuits and protect against moisture.
Reconnect the forklift’s battery and turn on the ignition to test the LED lights. Verify that all lights illuminate correctly and adjust the angle of the fixtures to ensure they cast light where needed without blinding other workers or operators. Use a multimeter to check for proper voltage and ensure there are no loose connections or electrical leaks. Conduct a visual inspection of the entire installation, making sure wires are neatly routed and secured, and mounting brackets are tight.
To extend the lifespan of your forklift LED lighting system, implement regular maintenance. Clean the light lenses monthly with a soft cloth to remove dirt, dust, and debris that can reduce brightness. Inspect the wiring and connections every few months to ensure they remain secure and free from corrosion. If a light fails to operate, check the wiring connections and replace any faulty components promptly to maintain optimal visibility and safety.