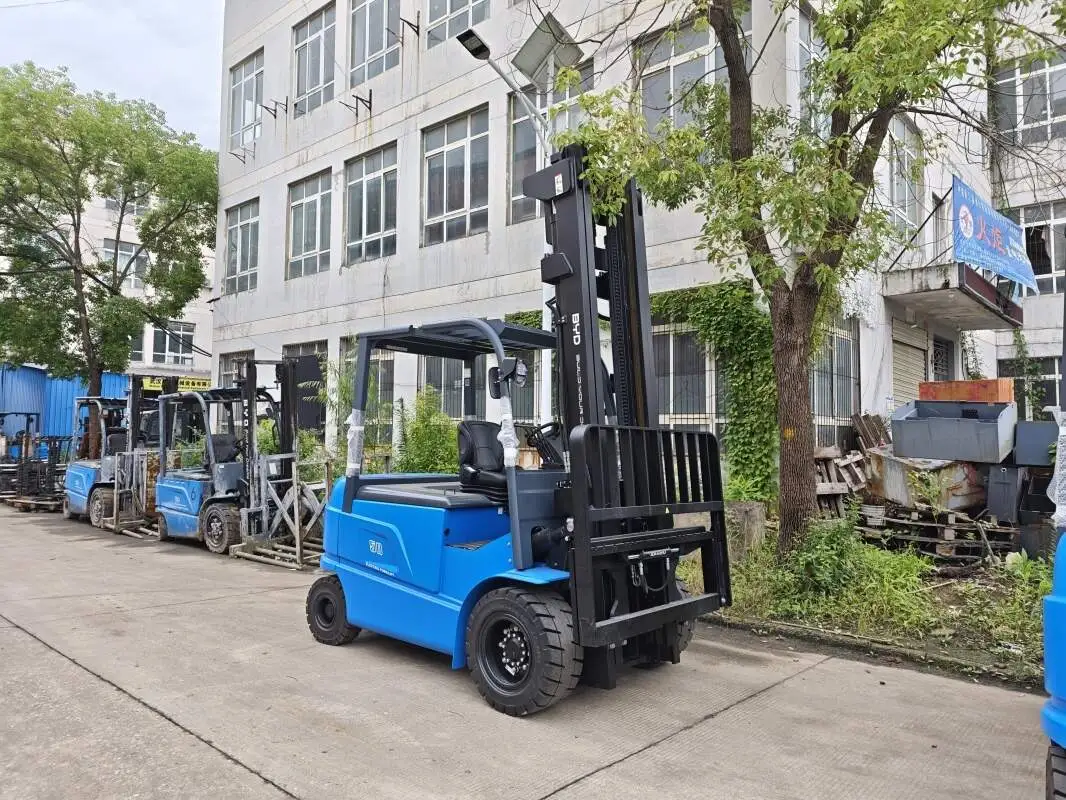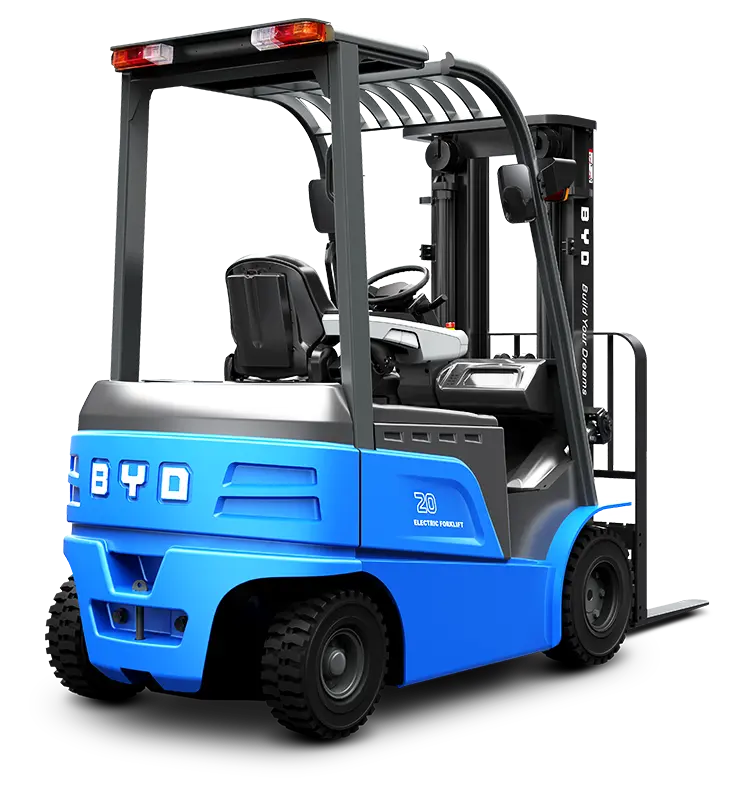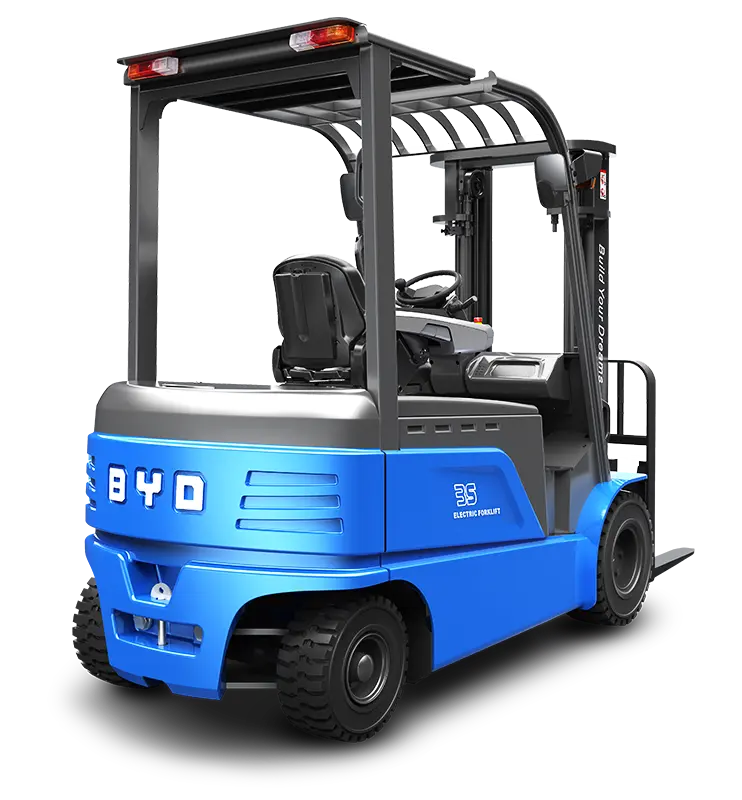
Heavy-duty electric forklifts are indispensable workhorses in warehouses, construction sites, and manufacturing facilities, relying on a fully functional starter to initiate operations. When the starter malfunctions, it can bring daily operations to a standstill, making systematic troubleshooting and timely replacement critical to minimizing downtime. This guide outlines a complete, step-by-step approach to diagnosing starter issues and replacing components on heavy-duty models, focusing on safety, accuracy, and long-term reliability.
Initial Diagnostic Checks
Start with foundational electrical assessments to rule out simple, non-starter-related issues before proceeding to more complex diagnostics. First, verify the forklift’s battery state of charge using a multimeter. Heavy-duty models typically require 24V or higher to engage the starter; low voltage often mimics starter failure. Inspect battery terminals for corrosion, loose connections, or frayed wiring—poor electrical contact is one of the most common causes of intermittent starting problems.
Next, evaluate the starter solenoid. When turning the ignition key, listen for a distinct clicking sound; this may indicate the solenoid is receiving power but failing to engage the starter motor. Use a multimeter to test the solenoid’s continuity, checking for breaks in the circuit that could prevent power from reaching the starter. Also, inspect the ignition switch for wear or damage, as a faulty switch can disrupt the signal sent to the solenoid.
Identifying Common Starter Failures
If initial checks confirm the issue lies with the starter itself, pinpoint the specific failure mode to guide replacement:
1. Worn Carbon Brushes: Over time, the carbon brushes inside the starter motor wear down, reducing electrical contact with the commutator. Signs include intermittent starting, a weak spinning sound when engaging the ignition, or complete failure to turn over.
2. Seized Starter Motor: Excessive dirt, debris, or lack of lubrication can cause the starter’s internal components to seize. This results in no movement when the ignition is activated, even if the solenoid clicks.
3. Damaged Pinion Gear: The pinion gear connects the starter to the forklift’s flywheel. Worn, chipped, or broken teeth on this gear prevent proper engagement, leading to a grinding noise when attempting to start the vehicle.
4. Faulty Armature: A damaged armature—either from overheating or electrical shorts—can cause the starter to draw excessive power without generating enough torque to turn the flywheel.
Step-by-Step Starter Replacement
Once the faulty starter is confirmed, follow these safe, structured steps for replacement:
1. Disconnect Electrical Power: Always disconnect the negative battery terminal first to prevent electrical shocks or short circuits. For heavy-duty models, ensure the forklift is parked on a level surface with the parking brake engaged.
2. Remove the Faulty Starter: Locate the starter motor, typically mounted on the engine block near the flywheel. Disconnect the wiring harness and solenoid cables, labeling each connection to ensure proper reattachment later. Use appropriate socket wrenches to unbolt the starter from its mounting bracket, taking care not to damage surrounding components like fuel lines or hydraulic hoses.
3. Prepare the Mounting Surface: Clean the engine block and starter mounting bracket with a wire brush to remove rust, dirt, or debris. This ensures a secure, vibration-free fit for the new starter.
4. Install the New Starter: Align the new starter with the mounting holes, then tighten the bolts to the manufacturer’s specified torque (typically 25–35 ft-lbs for heavy-duty models). Reconnect the solenoid cables and wiring harness according to the labels created earlier, ensuring all connections are tight and secure.
5. Reconnect Power and Test: Reattach the negative battery terminal, then test the starter by turning the ignition multiple times. Listen for smooth engagement without grinding or clicking sounds, and confirm the forklift starts consistently.
Post-Replacement Maintenance
After installing the new starter, conduct follow-up checks to ensure long-term performance:
- Monitor battery voltage during starting to confirm the electrical system is providing sufficient power.
- Inspect all connections periodically for signs of corrosion or looseness, tightening as needed.
- Schedule regular starter inspections as part of the forklift’s preventive maintenance routine, including cleaning dirt and debris from the motor and solenoid.
- Ensure the starter’s pinion gear and flywheel are properly lubricated to reduce wear and extend component lifespan.
By following this comprehensive troubleshooting and replacement guide, technicians and forklift operators can address starter issues efficiently, reducing downtime and ensuring heavy-duty electric forklifts remain reliable assets in industrial operations. Always prioritize safety by using appropriate personal protective equipment and adhering to manufacturer guidelines throughout the process.