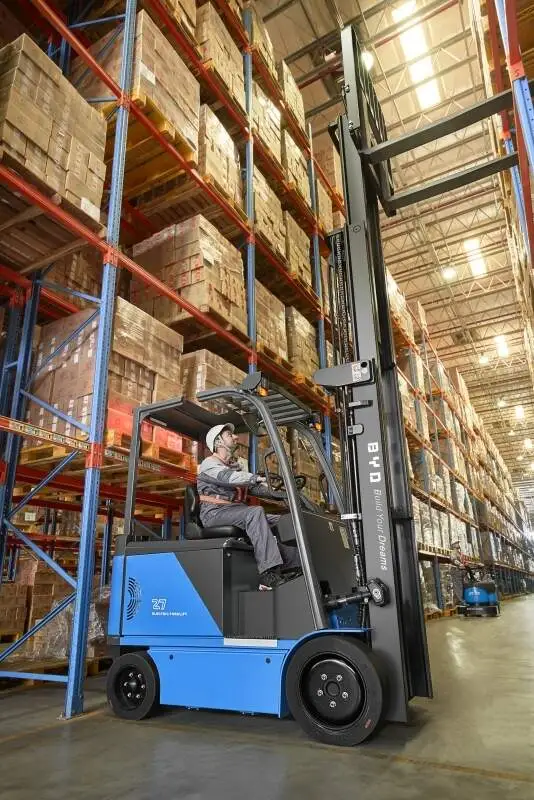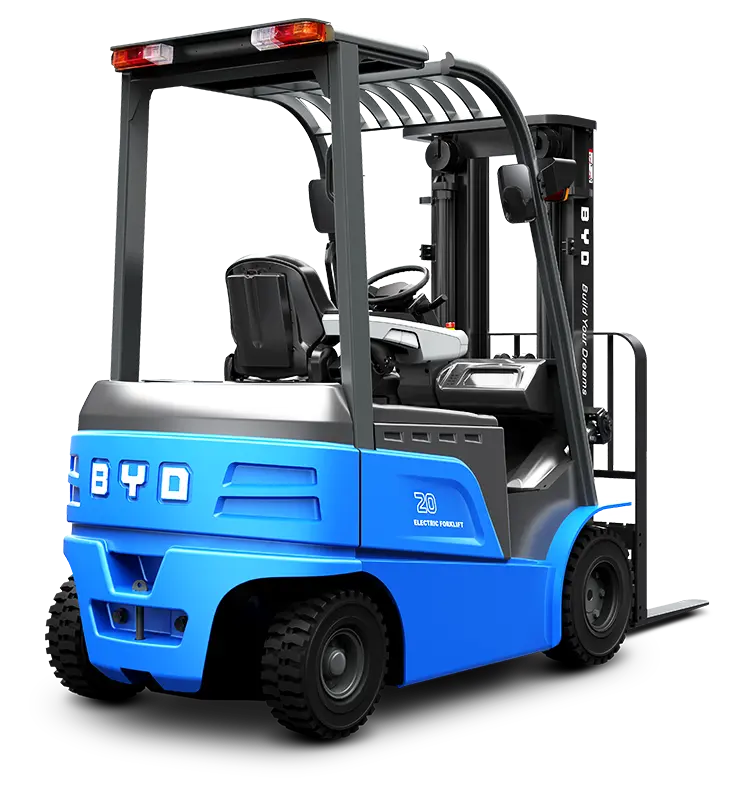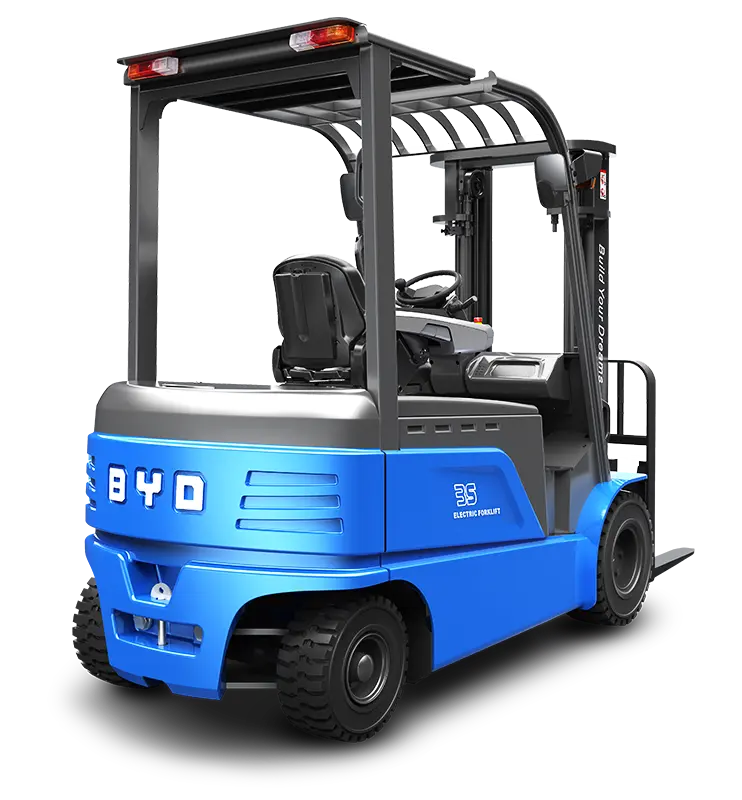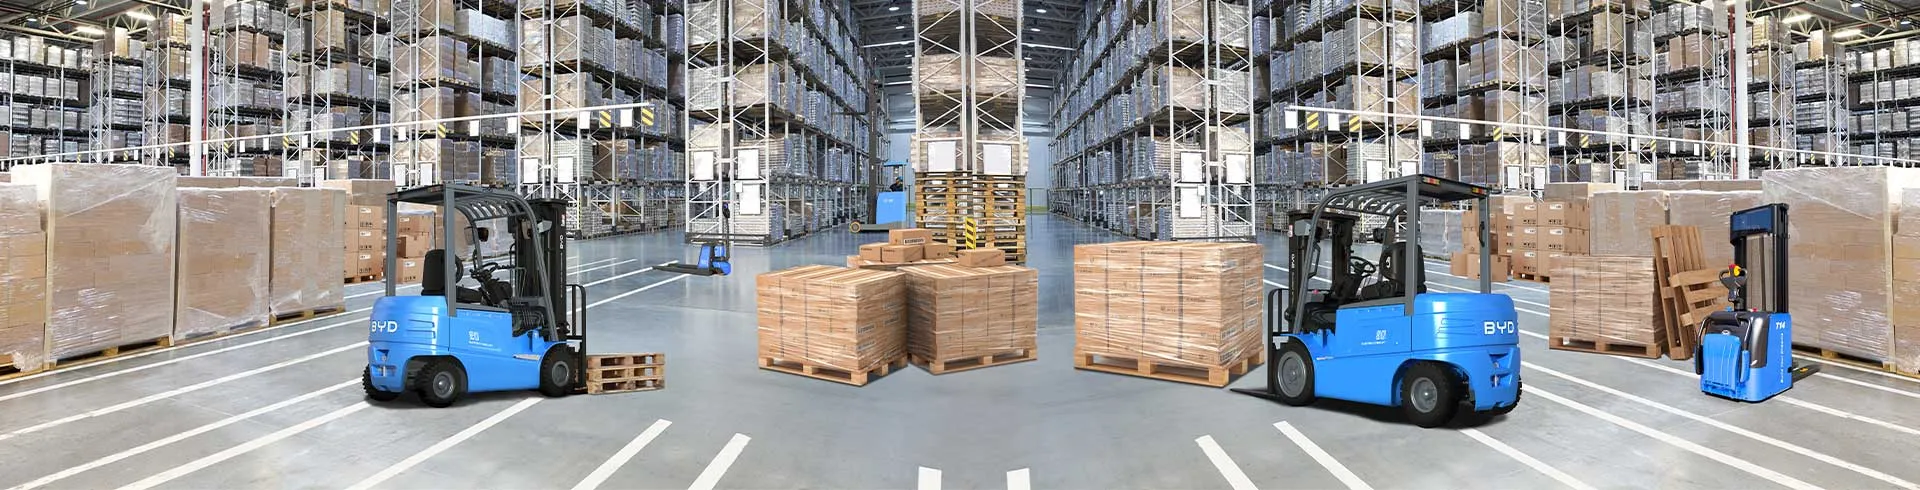
forklift loadable ladder racks are a practical addition to enhance material handling capabilities, allowing operators to transport ladders safely alongside other loads. Proper installation is critical to avoid safety hazards and ensure the rack functions as intended. Here are key tips to guide you through the process effectively.
Pre-Installation Preparation
Before starting any installation work, take time to prepare adequately. First, verify that all components of the ladder rack are present and undamaged. This includes mounting brackets, bolts, nuts, washers and the rack frame itself. Missing or defective parts can compromise the rack’s stability, so address any issues promptly before proceeding.
Next, carefully read the manufacturer’s installation manual. While general tips apply, specific models may have unique requirements that must be followed to maintain structural integrity. Gather all necessary tools, such as wrenches, sockets, a level and a torque wrench, to ensure you can complete each step without interruptions.
Additionally, inspect the forklift’s mounting area. The surface should be clean, free of rust or debris, and structurally sound. Ensure the forklift is parked on a flat, stable surface and engage the parking brake to prevent accidental movement during installation.
Step-by-Step Installation Process
Start by marking the exact mounting positions on the forklift. Use a level to ensure the marks are aligned horizontally and vertically, as misalignment can cause the rack to tilt under load. Once positions are confirmed, attach the mounting brackets to the forklift using the provided hardware. Tighten bolts gradually, alternating sides to ensure even pressure and avoid warping the brackets.
Next, assemble the ladder rack frame according to the manual’s instructions. If the rack comes in multiple sections, connect them securely using the designated fasteners. Lift the assembled rack onto the mounting brackets, ensuring it sits flush and aligns with the pre-marked positions. Secure the rack to the brackets with bolts, using a torque wrench to tighten them to the manufacturer’s specified torque settings—over-tightening can damage threads, while under-tightening may lead to loosening over time.
After securing the rack, adjust the ladder holding mechanisms if applicable. These should be positioned to firmly hold ladders of different sizes without restricting access. Test the mechanisms by placing a ladder on the rack to ensure it stays in place during gentle movements.
Safety Considerations
Safety should be a top priority throughout the installation process. Always wear appropriate personal protective equipment (PPE), including safety glasses, gloves and steel-toe boots, to protect against falling parts or accidental injuries. If the installation requires working at height, use a stable platform or step ladder instead of climbing on the forklift itself.
Ensure the forklift is turned off and the key is removed to prevent accidental activation. If working with a partner, establish clear communication signals to coordinate movements, especially when lifting heavy rack components. Never rush through steps; take time to verify each connection before moving to the next phase.
Post-Installation Checks & Maintenance
Once installation is complete, conduct a thorough inspection. Check all bolts and fasteners to confirm they are properly tightened. Gently shake the rack to test its stability—any excessive movement indicates a need for further adjustments. Load the rack with a ladder of maximum recommended weight and drive the forklift slowly in a controlled area to ensure the rack holds the load securely without shifting.
For long-term performance, establish a regular maintenance schedule. Inspect the rack monthly for loose bolts, signs of corrosion or wear on components. Clean the rack regularly to remove dirt and debris that can accelerate rusting. If any parts show significant damage, replace them promptly to maintain the rack’s safety and functionality.