The seat switch is a critical safety component in both stand-up and sit-down forklifts, designed to prevent unintended vehicle operation when the operator is not in the designated position. Over time, wear, debris accumulation, or electrical faults can cause the switch to malfunction, requiring timely replacement to maintain forklift safety and compliance with workplace regulations. This guide provides a detailed, safe process for replacing seat switches in both types of forklifts, emphasizing pre-work precautions and post-installation validation.
Pre-Replacement Preparation
Before starting any work, prioritize safety to avoid electrical hazards or accidental forklift movement. First, turn off the forklift’s ignition and disconnect the main power source—this may involve removing the battery cables or engaging a master disconnect switch, depending on the forklift model. Wear appropriate personal protective equipment (PPE), including insulated gloves, safety glasses, and closed-toe shoes, to protect against electrical shocks and physical debris. Gather necessary tools: a set of screwdrivers (Phillips and flathead), a multimeter for electrical testing, a replacement seat switch compatible with your forklift’s specifications, and electrical tape for marking wiring. Always consult the forklift’s official operation manual to locate the switch and understand model-specific requirements, as switch placement and wiring can vary.
Replacement Steps for Stand-Up Forklifts
Stand-up forklifts typically house the seat switch near the operator’s standing platform, often under a protective cover or integrated into the control console area. Follow these steps:
1. Locate the Switch: Remove any plastic covers or panels blocking access to the switch using a screwdriver. The switch is usually positioned to detect when the operator is standing on the designated platform or holding the control lever in the correct position.
2. Disconnect Wiring: Use the multimeter to confirm the power source is fully disconnected. Carefully label each wire connected to the switch using electrical tape, noting their corresponding terminals—this ensures correct reconnection later. Gently pull the wire connectors away from the switch terminals; avoid yanking the wires directly to prevent damage.
3. Remove the Old Switch: Unscrew the mounting bolts or clips holding the switch in place. Lift the old switch out of its housing, taking note of its orientation to align the new switch correctly.
4. Install the New Switch: Position the replacement switch in the same orientation as the old one. Secure it with the mounting bolts or clips, ensuring it is firmly seated to avoid vibration-related issues.
5. Reconnect Wiring: Match each labeled wire to its corresponding terminal on the new switch. Push the connectors firmly until they click into place, ensuring a secure electrical connection.
6. Restore Protective Covers: Replace any panels or covers removed earlier, tightening screws to secure them properly.
Replacement Steps for Sit-Down Forklifts
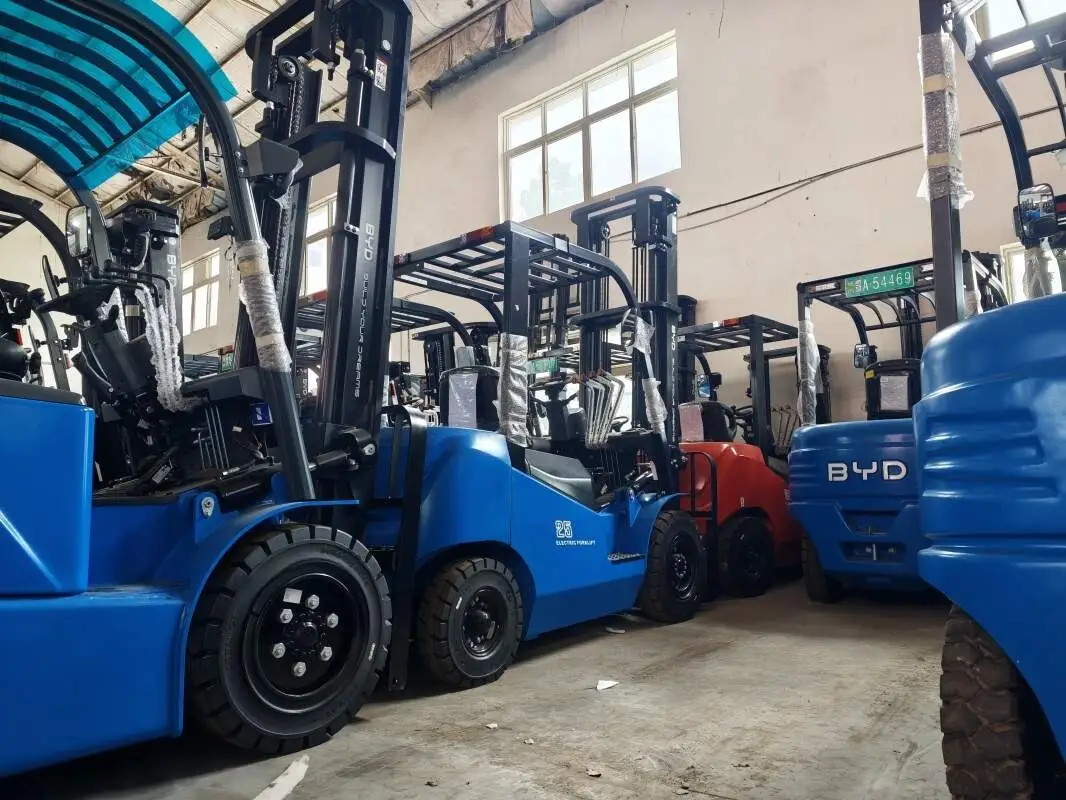
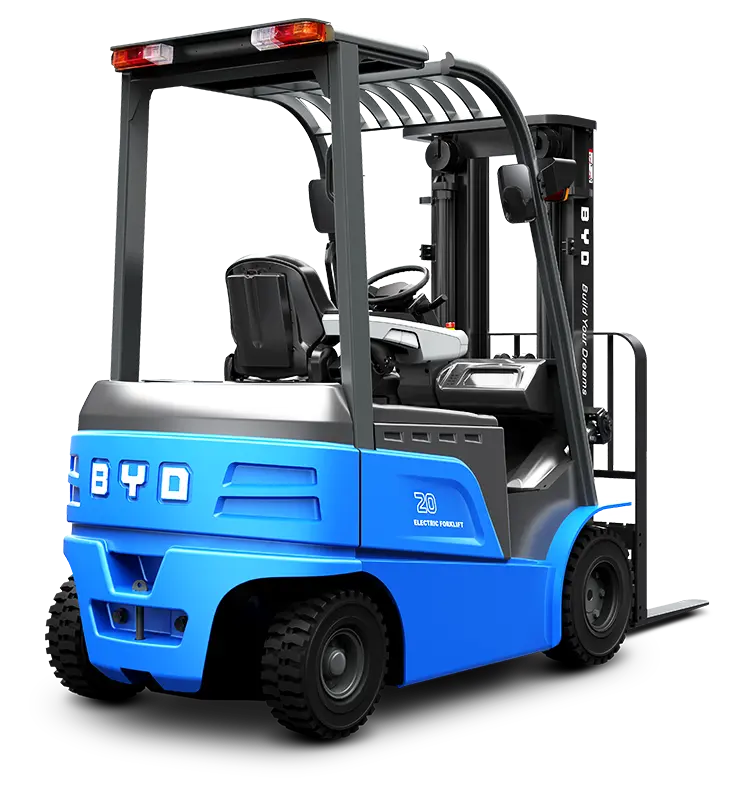
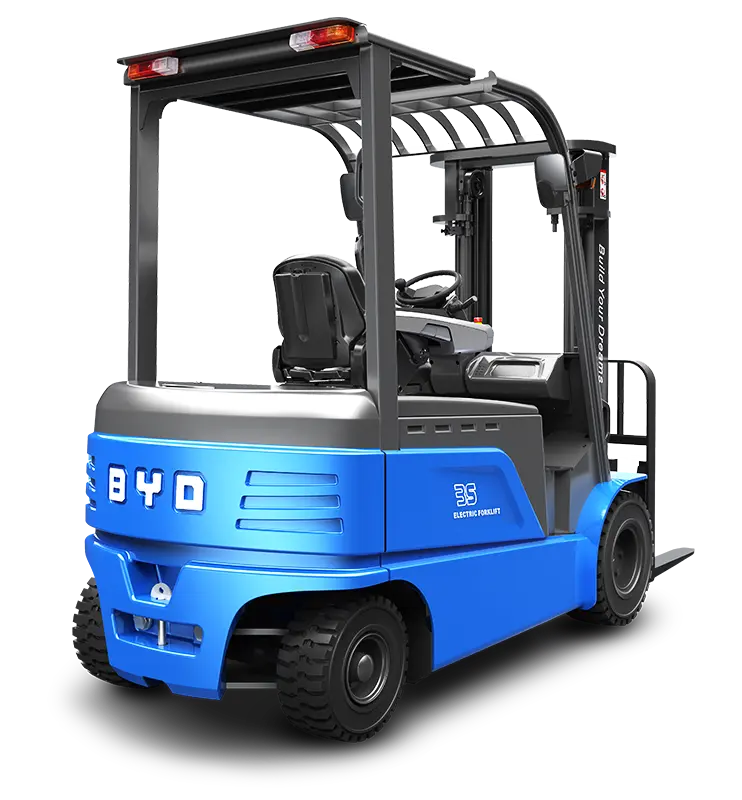
In sit-down forklifts, the seat switch is commonly located underneath the operator’s seat, activated by the weight or position of the operator. Follow these steps:
1. Access the Switch: Adjust the seat to its lowest position or slide it forward to create space underneath. Some models may require removing the seat cushion by unclipping or unscrewing it from the base.
2. Ensure Power Is Off: Double-check that the forklift’s ignition is off and the main power source is disconnected to eliminate electrical risks.
3. Label and Disconnect Wiring: Identify the wires connected to the switch, mark each with electrical tape, then disconnect them from the terminals. Take a photo of the wiring configuration as an extra reference if needed.
4. Remove the Old Switch: Unscrew the mounting screws holding the switch to the seat base or floorboard. Lift the old switch out, and clean the mounting area to remove any dirt or debris that could interfere with the new switch’s performance.
5. Install the New Switch: Place the replacement switch in the cleaned mounting area, aligning it with the screw holes. Tighten the mounting screws until the switch is secure but avoid over-tightening, which could damage the switch or housing.
6. Reconnect and Reassemble: Attach each labeled wire to its respective terminal on the new switch. Replace the seat cushion (if removed) and adjust the seat back to its original position.
Post-Installation Safety Validation
After installing the new seat switch, conduct thorough tests to ensure it functions correctly. Reconnect the main power source and turn on the ignition. For stand-up forklifts, test the switch by standing on the designated platform and engaging the controls; the forklift should only operate when you are in the correct position. For sit-down forklifts, sit in the seat and attempt to start the forklift—if the switch works properly, the forklift should only activate when you are seated. Perform multiple tests to confirm consistent performance, checking for any signs of loose wiring or faulty activation. If the switch does not function as expected, disconnect the power source and recheck the wiring connections and switch alignment.
Ongoing Maintenance Tips
To extend the lifespan of your forklift’s seat switch, incorporate regular maintenance into your routine. Inspect the switch and surrounding area monthly for signs of wear, corrosion, or debris buildup. Clean the switch and mounting area with a dry cloth to remove dirt or dust, avoiding liquid cleaners that could cause electrical damage. If you notice intermittent switch performance or difficulty activating the forklift, address the issue promptly to prevent safety risks. Always use replacement switches that meet the forklift’s manufacturer specifications to ensure compatibility and reliability.