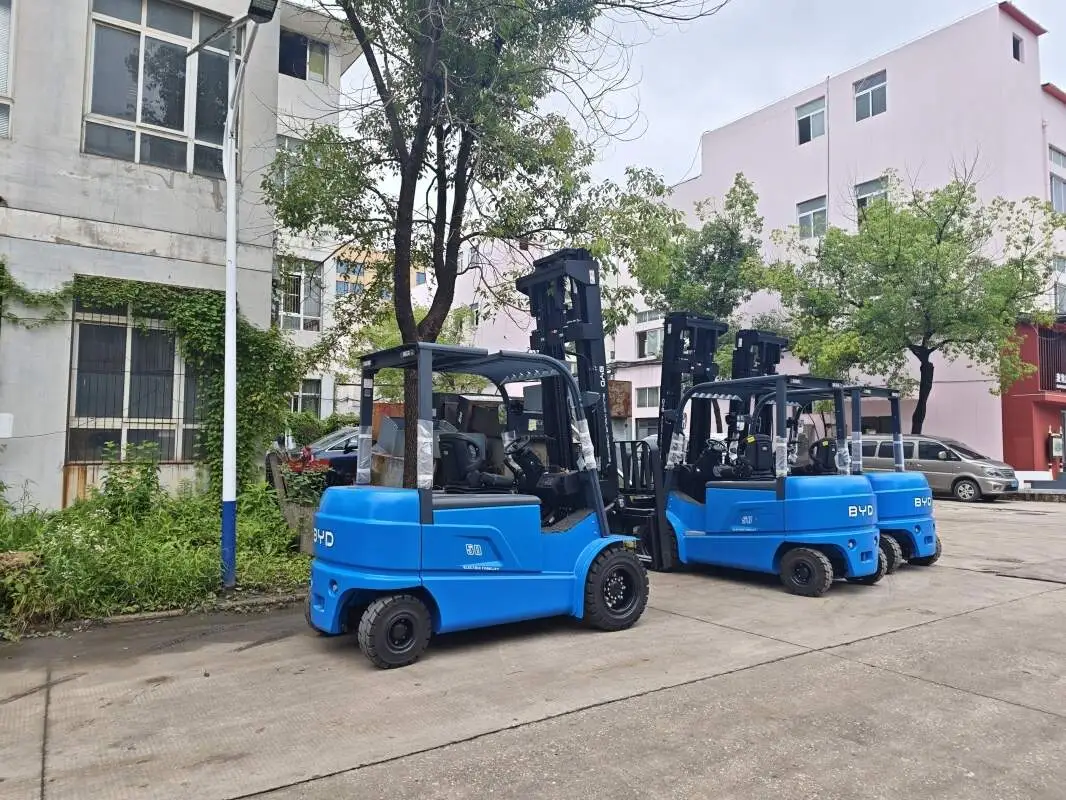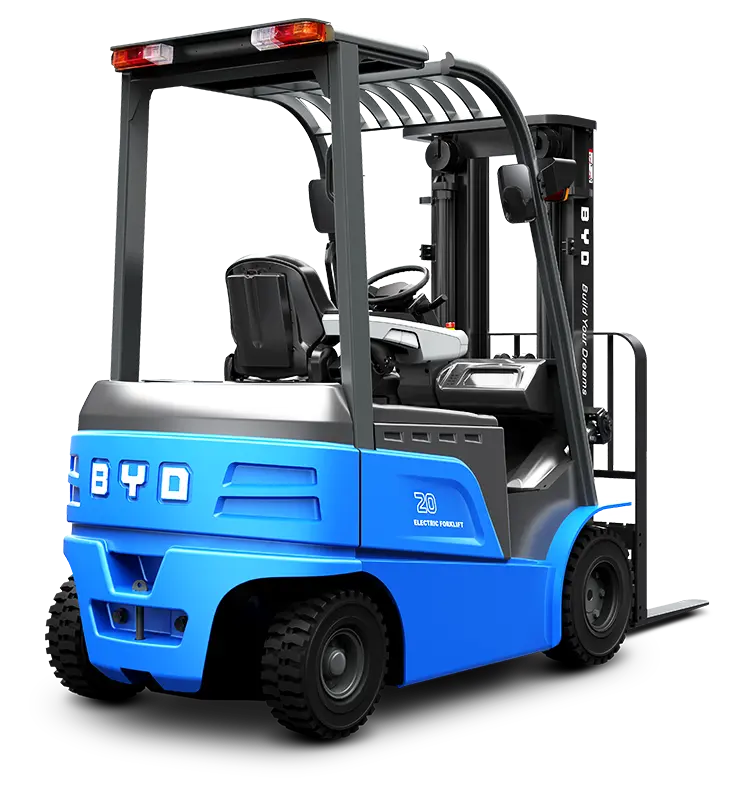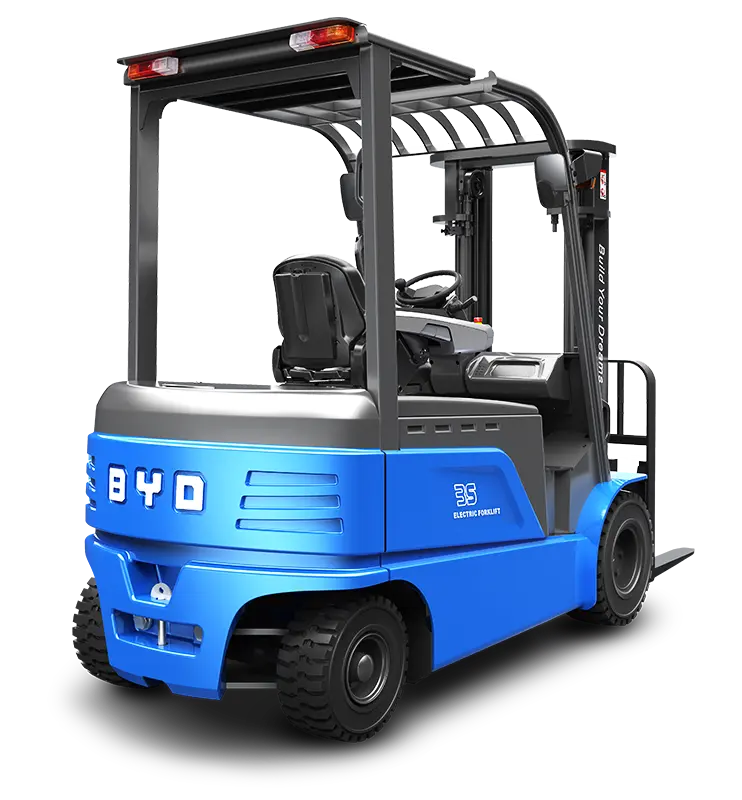
When operating forklifts for tasks involving elevated access or transporting ladders, installing a forklift-mounted ladder rack is a practical way to enhance operational efficiency and safety. This guide walks you through the entire installation process to ensure your ladder rack is fitted securely and functions as intended.
Pre-Installation Preparation
Start by gathering essential tools: a set of metric wrenches, socket drivers, a tape measure, a spirit level, and a torque wrench. Next, verify that all ladder rack components are included and free of damage, such as bent brackets or stripped threads. Ensure your forklift is parked on a flat, stable surface, with the engine turned off, parking brake engaged, and forks lowered fully to the ground. Take a moment to inspect the forklift’s mounting area—check for any existing damage or corrosion that could affect the rack’s stability.
Positioning and Marking
Measure the intended mounting area on your forklift, typically along the top edge of the mast or behind the operator’s cabin, depending on the rack design. Use the tape measure to confirm the rack’s width aligns with the forklift’s frame, ensuring it does not obstruct the operator’s field of vision or interfere with the forklift’s steering and lifting functions. Mark the mounting points with a pencil or painter’s tape, then use the spirit level to ensure the marked positions are perfectly horizontal. This step is critical to prevent the rack from tilting during use.
Secure Mounting of the Rack
Align the ladder rack’s mounting brackets with the marked positions on the forklift. Insert the provided bolts through the bracket holes and the corresponding pre-drilled holes on the forklift (or use appropriate mounting clips if no pre-drilled holes exist). Tighten the bolts by hand first to hold the rack in place, then use the torque wrench to tighten each bolt to the recommended torque specification—avoid over-tightening, as this can damage the forklift’s frame or the rack components. Double-check that all brackets are evenly secured and that the rack does not shift when gently pulled or pushed.
Installing Ladder Retention Features
Once the main rack is secured, attach the ladder retention components, such as adjustable clamps, rubber straps, or safety hooks. Position these components at intervals along the rack to accommodate different ladder lengths and widths. Add rubber padding to the rack’s contact points to prevent scratches on the ladder and reduce vibration during transport. Adjust the clamps or straps to ensure a snug fit without applying excessive pressure that could damage the ladder’s structure.
Post-Installation Validation
After completing the installation, conduct a comprehensive safety check. Gently shake the ladder rack to confirm it is stable and free of loose components. Place a ladder on the rack and secure it using the retention features, then test the forklift’s basic functions—raise and lower the mast, turn the steering wheel, and drive slowly in a safe area. Observe how the rack and ladder behave during these movements; if there is any shifting or unusual noise, stop immediately and re-tighten the relevant bolts or adjust the retention features. Finally, document the installation date and torque specifications for future maintenance reference.
Regularly inspect the ladder rack’s fasteners and components to ensure they remain tight and in good condition, especially after heavy use or exposure to harsh weather conditions. Properly installed, a forklift-mounted ladder rack will provide a secure storage solution for ladders, reducing the risk of accidents and improving overall operational efficiency.