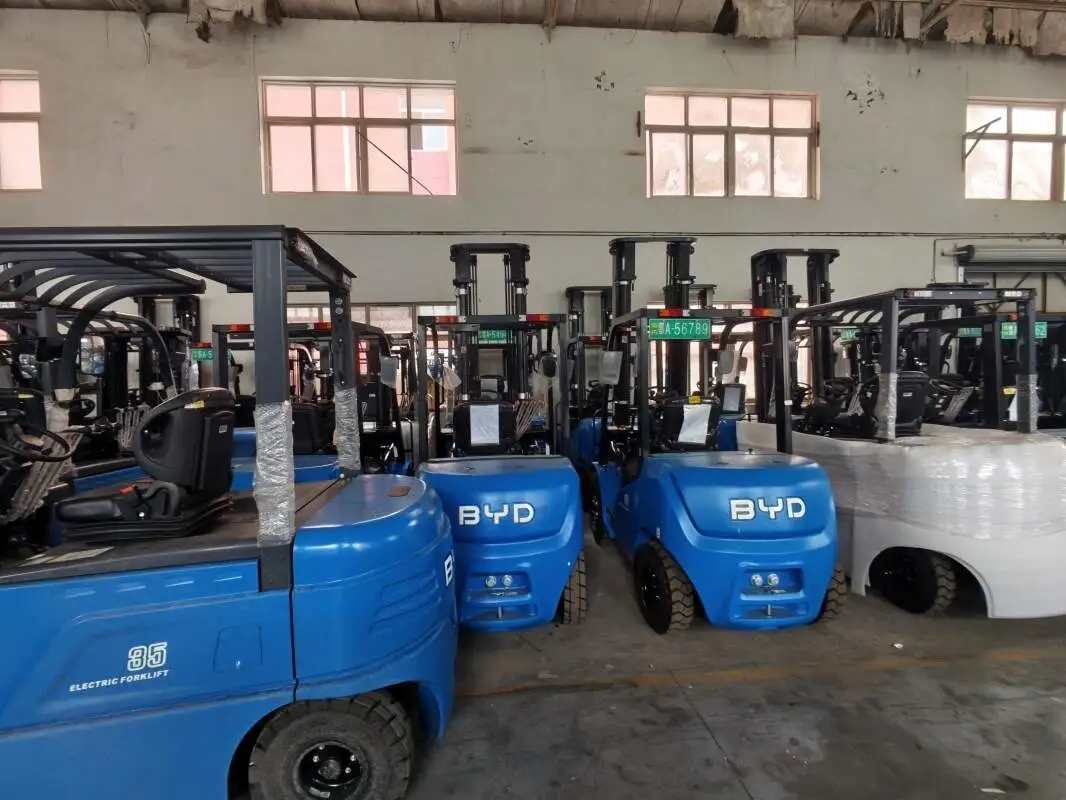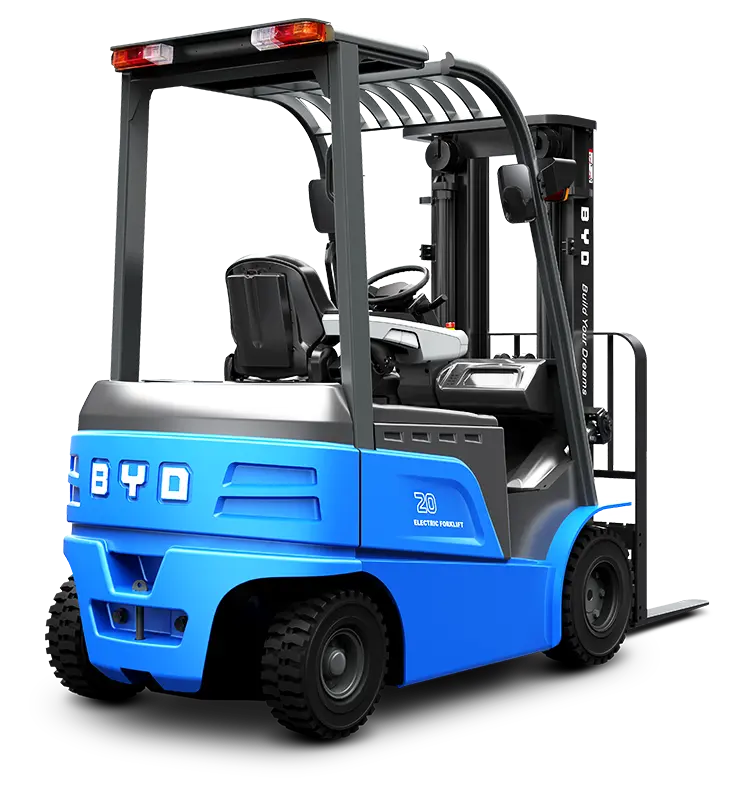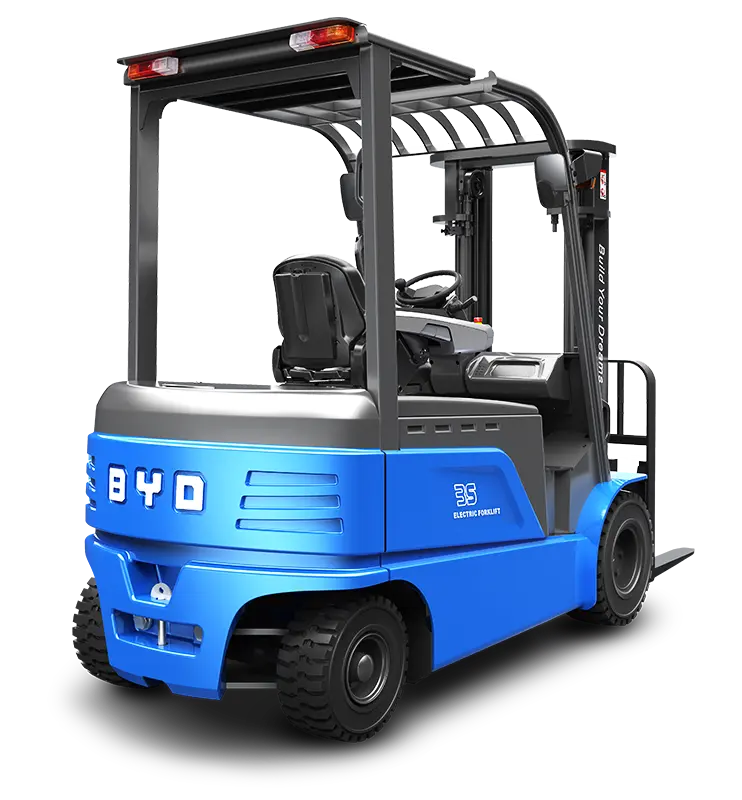
The forklift backrest is a critical safety component designed to prevent loads from shifting backward and striking the operator during material handling tasks. Proper removal and installation of this component is essential to maintain forklift safety and operational efficiency. Whether you’re performing maintenance, replacing a damaged backrest, or conducting inspections, following structured, safe procedures is non-negotiable. Below is a detailed, step-by-step guide to ensure the process is completed correctly and safely.
Pre-Work Preparation
Before beginning any work on the forklift, prioritize safety to mitigate risks. First, park the forklift on a flat, stable surface with the parking brake engaged. Turn off the ignition and remove the key to prevent accidental startup. Disconnect the battery to eliminate electrical hazards. Next, wear appropriate personal protective equipment (PPE), including safety glasses, gloves, steel-toe boots, and a hard hat, to protect against potential injuries from falling components or tool mishaps. Gather all necessary tools: a socket wrench set, torque wrench, pry bar (if needed), and a safe lifting device like a hoist or dolly if the backrest is heavy. Ensure you have access to the forklift’s operational manual for specific torque specifications and component details relevant to your model.
Step-by-Step Backrest Removal
1. Assess the Work Area: Clear the immediate area of any debris, obstacles, or bystanders to create a safe workspace. Verify that the forklift’s forks are lowered to the ground and that there are no loads on the carriage.
2. Locate and Access Fasteners: Identify the bolts or pins that secure the backrest to the forklift carriage. These are typically located at the top and bottom of the backrest mounting brackets. Use a socket wrench to loosen the bolts gradually, ensuring you support the backrest as you remove the final fasteners to prevent it from falling.
3. Disconnect Auxiliary Components (If Applicable): Some forklifts may have additional components attached to the backrest, such as load guards or sensor wires. Carefully disconnect these components, labeling wires or connectors to ensure proper reconnection during installation.
4. Remove the Backrest: If the backrest is lightweight, two technicians can carefully lift it off the carriage. For heavier units, use a hoist or dolly to lift and move the backrest to a designated storage area. Avoid dragging the backrest across the floor to prevent damage to the component or the workspace.
5. Secure the Component: Place the removed backrest on a stable, flat surface away from high-traffic areas to prevent accidental damage or tripping hazards.
Step-by-Step Backrest Installation
1. Position the Backrest: Retrieve the replacement or serviced backrest and position it near the forklift carriage. Use a hoist or dolly if needed to align it with the mounting brackets on the carriage. Ensure the backrest is oriented correctly, matching the original installation position to maintain load protection functionality.
2. Align Mounting Holes: Carefully align the backrest’s mounting holes with the corresponding holes on the carriage. Have an assistant hold the backrest in place to keep it steady while you insert the bolts or pins.
3. Tighten Fasteners: Insert the bolts into the mounting holes and hand-tighten them to hold the backrest in position. Use a torque wrench to tighten each bolt to the specification outlined in the forklift’s manual, ensuring even torque across all fasteners to prevent misalignment or structural weakness.
4. Reconnect Auxiliary Components: Reattach any load guards, sensor wires, or other components that were disconnected during removal. Double-check all connections to ensure they are secure and properly routed to avoid interference with forklift operations.
5. Initial Visual Inspection: Conduct a quick visual check to confirm the backrest is securely mounted, with no gaps between the mounting brackets and the carriage. Verify that all bolts are tightened to the correct torque and that auxiliary components are properly installed.
Post-Installation Safety Checks
Once the backrest is installed, perform thorough safety checks to ensure the forklift is ready for operation. First, reconnect the battery and turn on the ignition to test electrical components if applicable. Conduct a static test by gently pushing and pulling the backrest to verify it is stable and does not shift. Next, perform a dynamic test by operating the forklift in a controlled area, lifting light loads to ensure the backrest functions as intended, preventing backward load shift. Finally, document the maintenance or installation process in the forklift’s service log, noting the date, torque specifications used, and any observations during the process.
Conclusion
Proper removal and installation of a forklift backrest is a vital part of forklift maintenance that directly impacts operator safety and operational reliability. By following these step-by-step procedures, prioritizing pre-work safety, and conducting thorough post-installation checks, you can ensure the process is completed safely and correctly. Always refer to the forklift’s operational manual for model-specific guidelines and never skip safety steps to avoid potential accidents or equipment damage.